Your Guide to Branding Photography with JK Photos
Last year I made a blog post titled “10 Steps to Planning Your Custom Branding Photography Session” where I reviewed my process step by step, from our first meeting to your finished pictures. Since then, my process has changed a bit so I wanted to update that with a new post that gives you insight into the branding photography process.
This is your guide to getting gorgeous images that help you show up authentically online and draw in the clients you want to work with.
Your guide to branding photography with JK Photos
As you well know, branding is more than logos and colors.
It’s a feeling.
It’s an experience.
It’s the way you interact with your followers, your clients, and your supporters.
And it’s the stories you want to tell as a business owner and as a human.
The person you hire to take your branding pictures should be someone who:
You feel comfortable around
Shows an understanding of your brand and your personality
Is easy for you to work/communicate with
Has a portfolio of images you’ve seen and liked
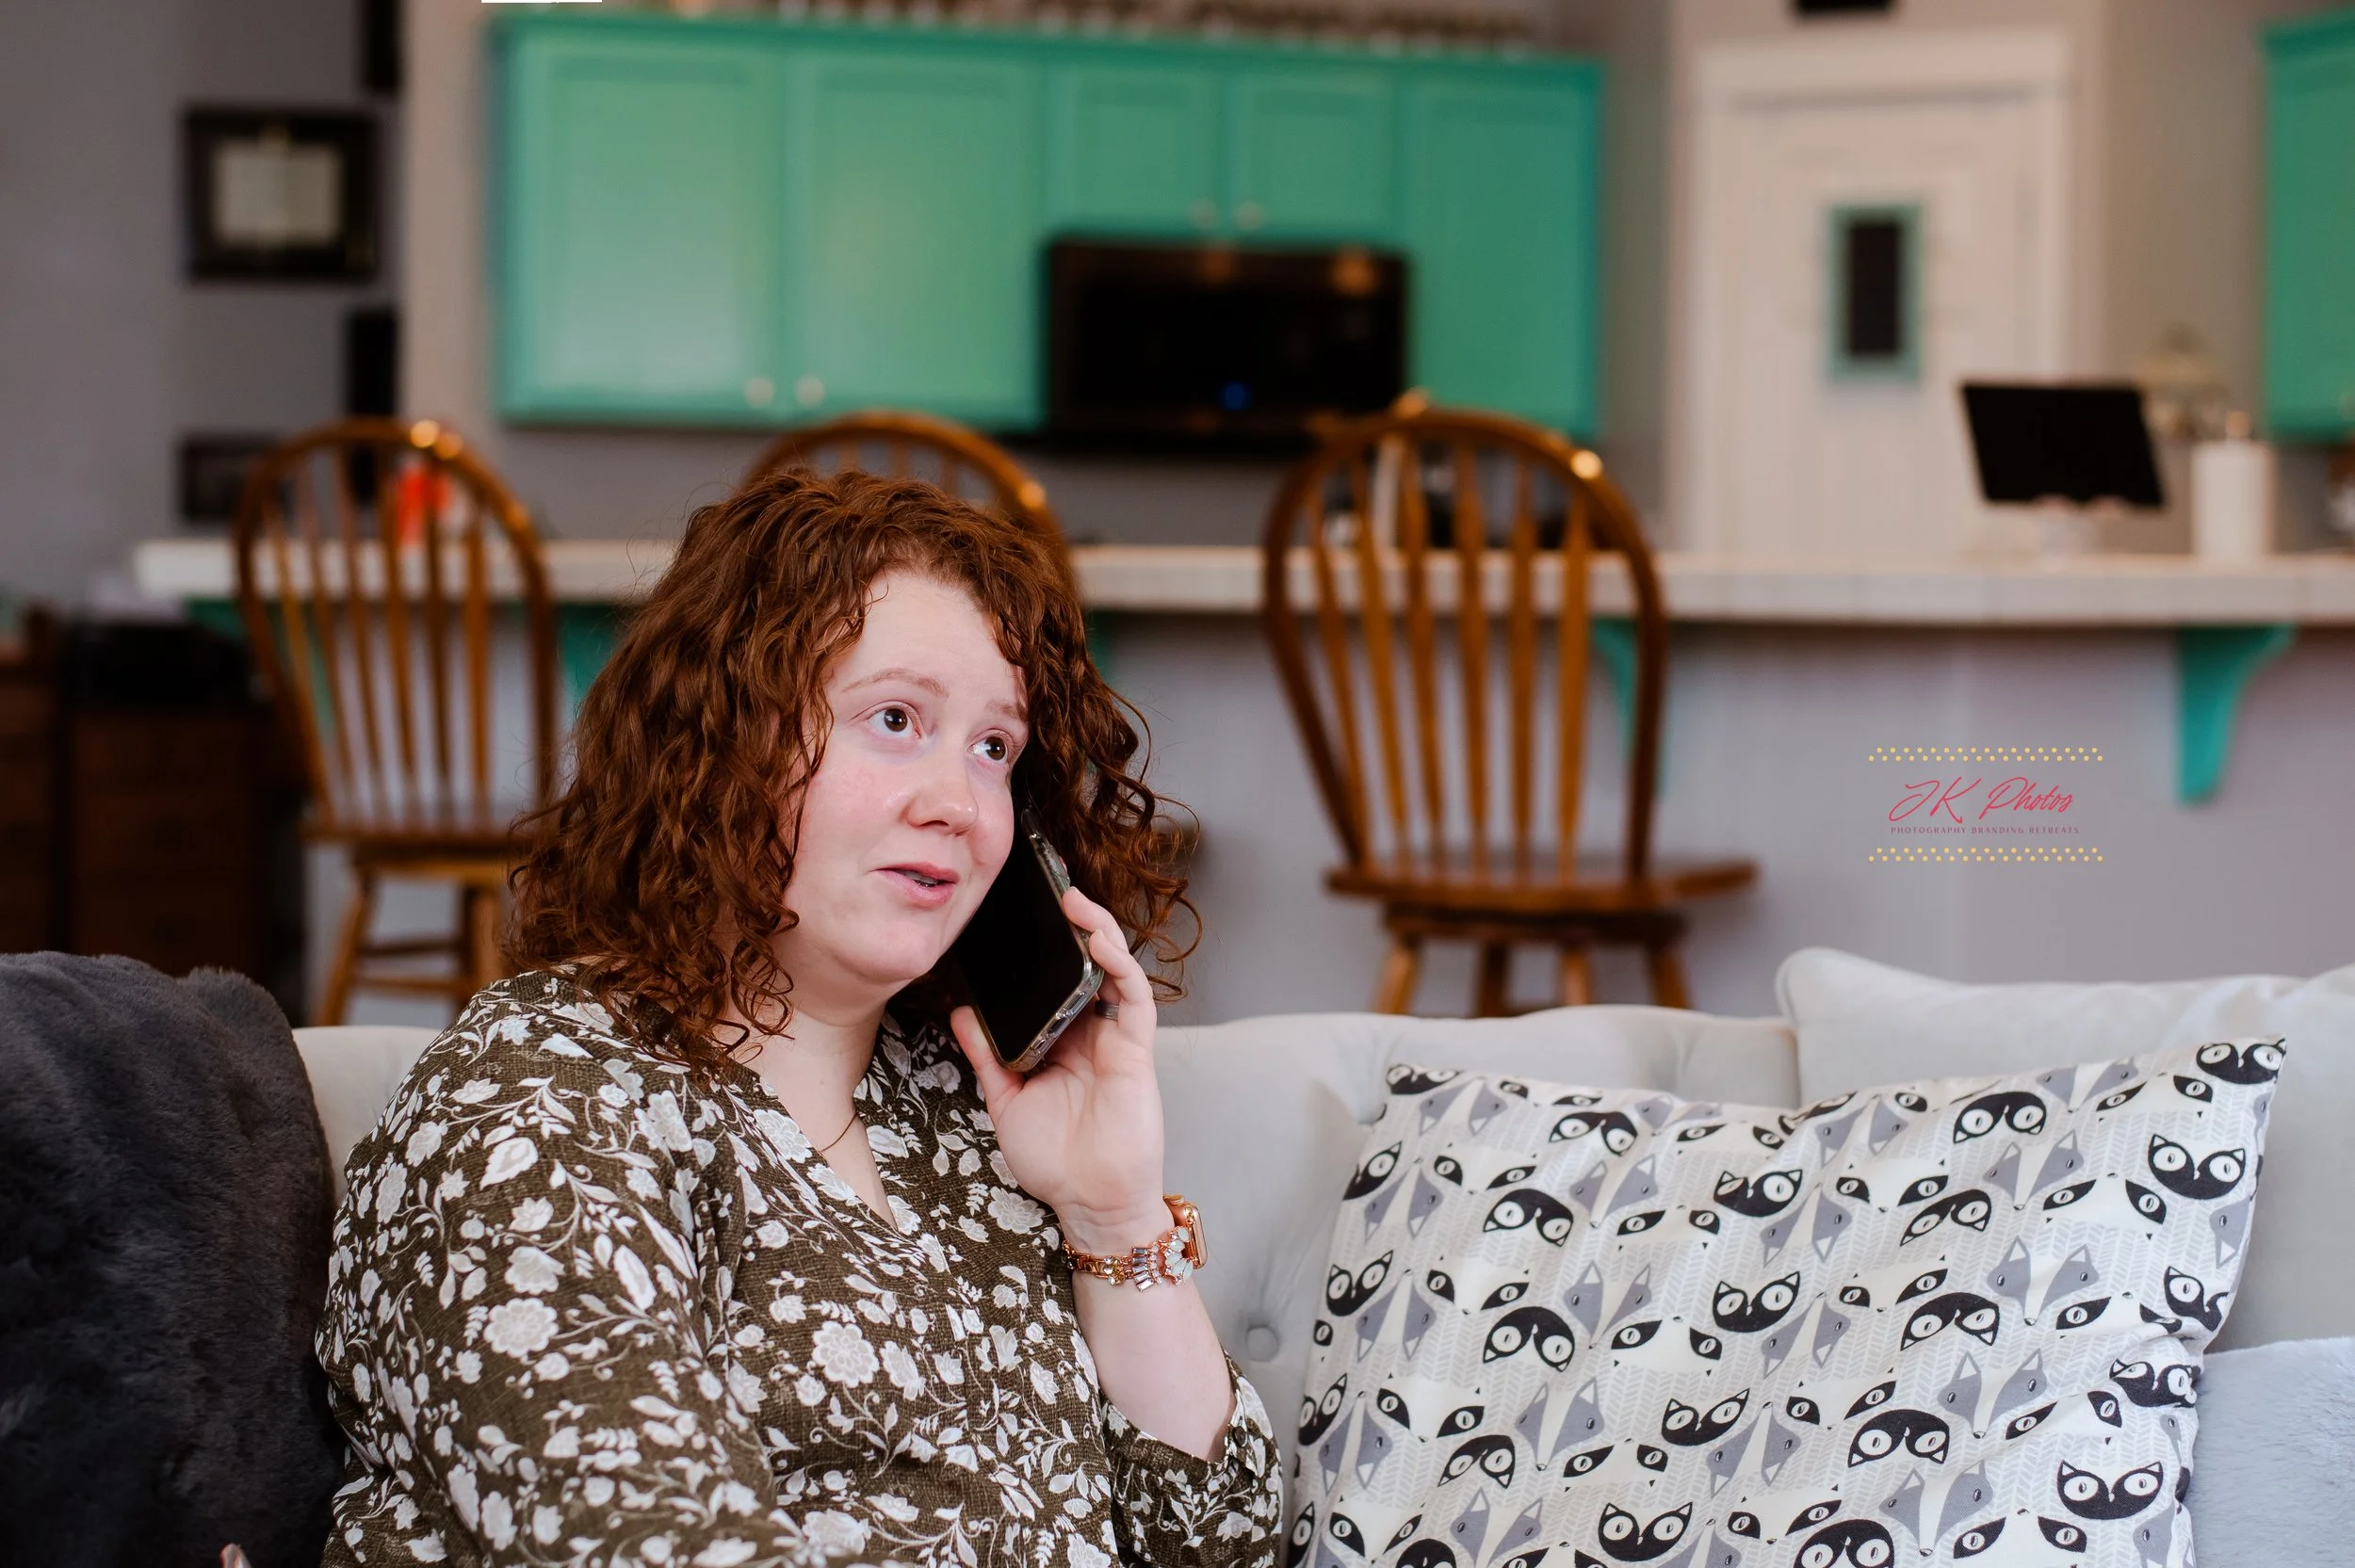
This is why the very first thing I do is schedule a time for us to talk on the phone.
During this 15 minute phone call, we go over:
Your vision
Your brand identity and your mission
What stories you want to tell – if you already have an idea
What locations you like – if you have any in mind
Any inspiration you’ve drawn from other businesses
How you plan to use the photos
Getting your proposal consultation on the calendar
After the call
I take all the information I’ve gathered and put together a totally custom proposal.
This proposal includes:
A vision board showing images I’ve taken that give you an idea of where my head is at for your photos
Info on my guarantee and the support you receive working with me
Testimonials from other branding clients to give you an idea of what the experience is like
A list of deliverables and what’s included with each
3-4 packages customized to what I see your business benefiting from
Proposal Consultation
I put this all together by your scheduled proposal consultation, which can happen via zoom or in person at a local Tri-Cities gathering space.
During this time, we:
Go over your proposal page by page
Talk about each package, what’s included, and payment options
Review the process and a tentative timeline of when we can get started
Talk about next steps
I answer any questions you still have lingering
Once the consultation is complete, I email you the proposal so that you have the information while you decide which package you want to go with.
To get started, you simply send me an email letting me know your decision and I create your project in my system! You receive your contract and invoice, and begin your project by signing the contract and paying your deposit.
Now it’s planning time
The planning portion is as hands on as you need it to be. You get a questionnaire that gathers information about your brand and your vision so it’s all in one place for us both to reference. I offer a planning consultation, a wardrobe consultation if you’re having trouble finding the right outfits, and access to me via text message or email any time you have questions throughout the week.
The planning questionnaires and story planning guide are helpful tools that I’ve created to get you thinking more about how you want to show up for your followers and clients. With helpful prompts and plenty of room to write, you have the chance to work through any uncertainty you have over what you want to feature and what stories you want to tell.
The guides also provide me with info like:
Brand details – logos, colors, vibe
Types of locations and outfits you want to include
Other businesses that inspire your brand
Your business growth plans
Your content pillars
Session Plan
For full-session or recurring contract clients, I create a session plan that features:
Each story you want to tell in your pictures
Outfit inspiration
Must have shots
Tentative timelines
Location reminders
Prop, outfit, and prep reminders
Vision board inspo for each story
A checklist of things to remember to do before the session
Then comes the most important part: shoot day!
This is the party.
We meet for your session at the designated location, and start shooting your branding pictures. During this time we laugh, we experiment with different poses and actions, and I remind you of how gorgeous you are. A lot.
At every session I keep your session plan up on my phone, so that I can reference it throughout our time together to make sure we’re remembering to get all your must-have shots. From stock images to poses you love, it’s all right there so that we don’t miss a thing.
After the session
We finish up your shoot and I head back to my home office where I immediately upload your images to an external hard drive and begin editing! I cull through all the pictures and pick the best ones to edit. But that doesn’t mean your selections are limited. In fact, the only ones I leave out are any that have unintentional blur that takes away from the picture, mid-talking pictures, and any unflattering angles where you’re adjusting mid-shot or sneezing or anything like that.
Once they’re all edited and I’ve reviewed them to make sure everything flows together, I upload them into an online, password-protected gallery just for you.
The final step is for you to pick your pictures!
I email a link to your gallery, and you get to go through all your pictures to pick which ones you want to use in your marketing.
If you need support with picking your downloads, I offer a consultation after our session to help you go through your gallery. We’ll re-visit your content pillars and the plans you have for your marketing initiatives, and choose the images that fit those best.
That’s it
If this seems like a lot, remember that many of these steps are super simple or things that happen on my end. And after it all, you get a full gallery of images to upgrade your marketing assets and start attracting those ideal clients who need what you’re offering.


