10 steps to planning your custom branding photography session
Leveling up your marketing by investing in professional branding photography is a scary next step in your business. I understand! Spending money can be intimidating, but it’s also necessary to invest in your business to continue growing.
So I’ve created this step-by-step explanation showing you exactly what I do to ensure that your branding session is everything you need it to be. When clients book with me I want them to feel confident that they’re getting quality work from someone they trust.
Here we go.
10 steps to planning your custom branding photography session
1) We meet!
This sounds simple and unnecessary to some business owners. But there’s a reason for it. Meeting you gives me a chance hear all about the story of your business, get to know your personality, and find out more about your vision and ideas. On the flip side, it gives YOU a chance to get to know me and make sure that you feel comfortable with my personality and my vibe. Because nobody wants to give their hard-earned money to someone who doesn’t make them feel comfortable. These consultations are really for both our benefits.
2) Proposal time
I take everything we discussed at your session and put the ideas together into a custom proposal designed just for your business. This might look like menu images and headshots for a restaurant, or quarterly sessions to update your branding images for a coach, or even monthly product image updates for a product-based business. It’s all completely personalized to encompass everything you need for your specific industry and business.
3) Start your project
At this point, it’s time for you to pick the package you want to go with. You reach out to me to let me know what you decided on or if you need any further adjustments to the packages, then I send you a contract and invoice. You would let me know whether you want to initiate a payment plan for investment or pay it in full. At this point, to start your project you would sign the contract and pay the deposit (or full invoice if that’s the route you’re taking).
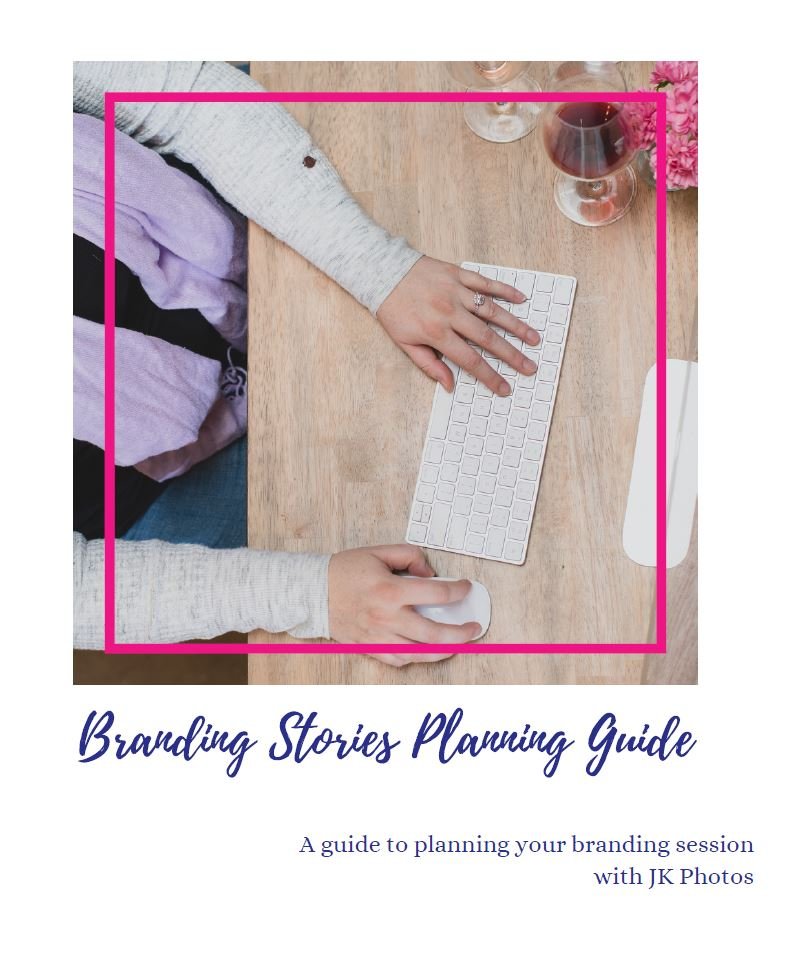
4) Story Planning
I have a 12 page story planning guide that I provide my full branding package clients. Keep in mind, if this is a mini branding session or headshot update this guide is not included. You receive the guide and begin working on the pieces you need support in. This guide contains everything from the heart and “why” of your business, to the vision you have for the future of your business, to what you want to showcase at this point. Whatever you fill out in this guide is sent to me and I use that to plan the stories we’ll capture and flow of the session day.
5) Logistics
During the planning process I offer additional consultations to support you in any way you need. From wardrobe consultations in person where I come to your house and help you pick out what to wear, to sending you feedback on pictures of outfits you text to me, I can be as hands on as you need. This step also includes planning out the logistics of your session, like the date and time and location where we will be shooting. Your story planning guide also lends support in this area.
6) Session Day Guide
After you’ve sent me back whatever information you’ve filled out in your story planning guide and we’ve discussed the logistics, I put together a Session Day Guide. This guide includes:
Brand overview - your story, colors, vibe
Location list
Tentative timeline
Packing list - props and wardrobe
Each story concept – mood board, shot list, additional notes
Final prep reminders
7) Session Day
We shoot! On this day, if makeup is part of your package you’ll get your makeup done and then we’ll meet at the chosen location and capture all the amazing stories of your business. I’ll guide you into natural positions that feel comfortable and showcase your personality. We laugh, we shoot, and then you go home and the rest is my job!
8) Post-Session (my part)
I get back to my computer and upload all your images. Then I spend time culling out the pictures that don’t pass my quality check – any unintentionally blurry or out of focus images, any pictures where you’re mid-expression change causing a weird look on your face, etc. Next, I go through all the pictures I’ve decided pass the test, and edit them in my signature style. This includes color and lighting adjustments, contrast changes, and any more artsy edits we’ve discussed or I think fits with your brand. When those are done, I upload them all into a private online gallery and send a link to you via email.

9) Pick your photos
This is the best part: you get to see your finished pictures! Your gallery will always include more images than your package outlined, so that you have options to pick from. You’ll get instructions on how to add your favorites to your download list, and once you’ve made your final decisions you’ll reach out to me and I’ll send them in a download link to your email!
10) Incorporation
We’re done!
Download your images and incorporate them into your marketing!
Each of these steps
is a necessary piece of putting together your session, from inquiry to images. I intentionally create your custom package, session plan, and images to flow with the vision you see for your brand, whether it’s brand new or you already have an established following. Like I’ve said before, my packages aren’t one-size-fits-all because no 2 businesses are the same.
You deserve that personal touch.
Ready to work with me?
Click here to book your free consultation.